
Step 1 - decide on a rough shape, and draw it on 24g sheet copper:

Step 2: Cut the piece out. I used metal shears to cut along the outer markings, and then used a jeweler's saw to pierce (saw) the inner circle:

After cutting it out, smooth any rough edges with a metal file or coarse emery board. This is also a good time to punch your hole for the attachment jump ring, and file off any resulting roughness.
3) Choose a design for etching into the metal. I have 50 or 60 to pick from, and this choice is always hard for me - I love them all! Once the design stamp is chosen, I stamp it directly on the metal, using Staz-On ink:

Let the ink dry. I'm never sure how long this really takes, and I try to plan for a 24 hour wait period here. But sometimes that plan fails, and I have etched as soon as 30 minutes later (when the ink is actually still smearable, so I know it isn't dry) and I have still achieved good results.
If your metal piece got bent in the cutting process, you'll need to flatten it before stamping - do this by placing it on the bench block and smacking it with another bench block (cover your ears first!) OR by placing it on the bench block, covering it with something spongy like a piece of foam rubber, and then smacking it with a rawhide mallet.
4) Etch! Place a piece of packing tape on the back of the piece you are etching. Place the piece face UP in a container of ferric chloride, just deep enough to cover the stamped surface. Adhere the free ends of the packing tape to the top edges of the acid container, so you'll be able to remove the piece from the acid without putting your fingers in it. Let it sit for 90 minutes.

5) Neutralize: Use the packing tape to lift the piece out of the acid and dunk it straight into a solution of baking soda and water. It will bubble - a few seconds is all you need. Then carefully remove the copper from the tape, and wash in soap and water. This whole step needs to be done with care - you don't want the acid on you, your clothes, or anything you care about, because 1) it's acid, and 2) it's a nasty permanent orange color. Even after it's neutralized, that orange color sticks around and will stain everything.

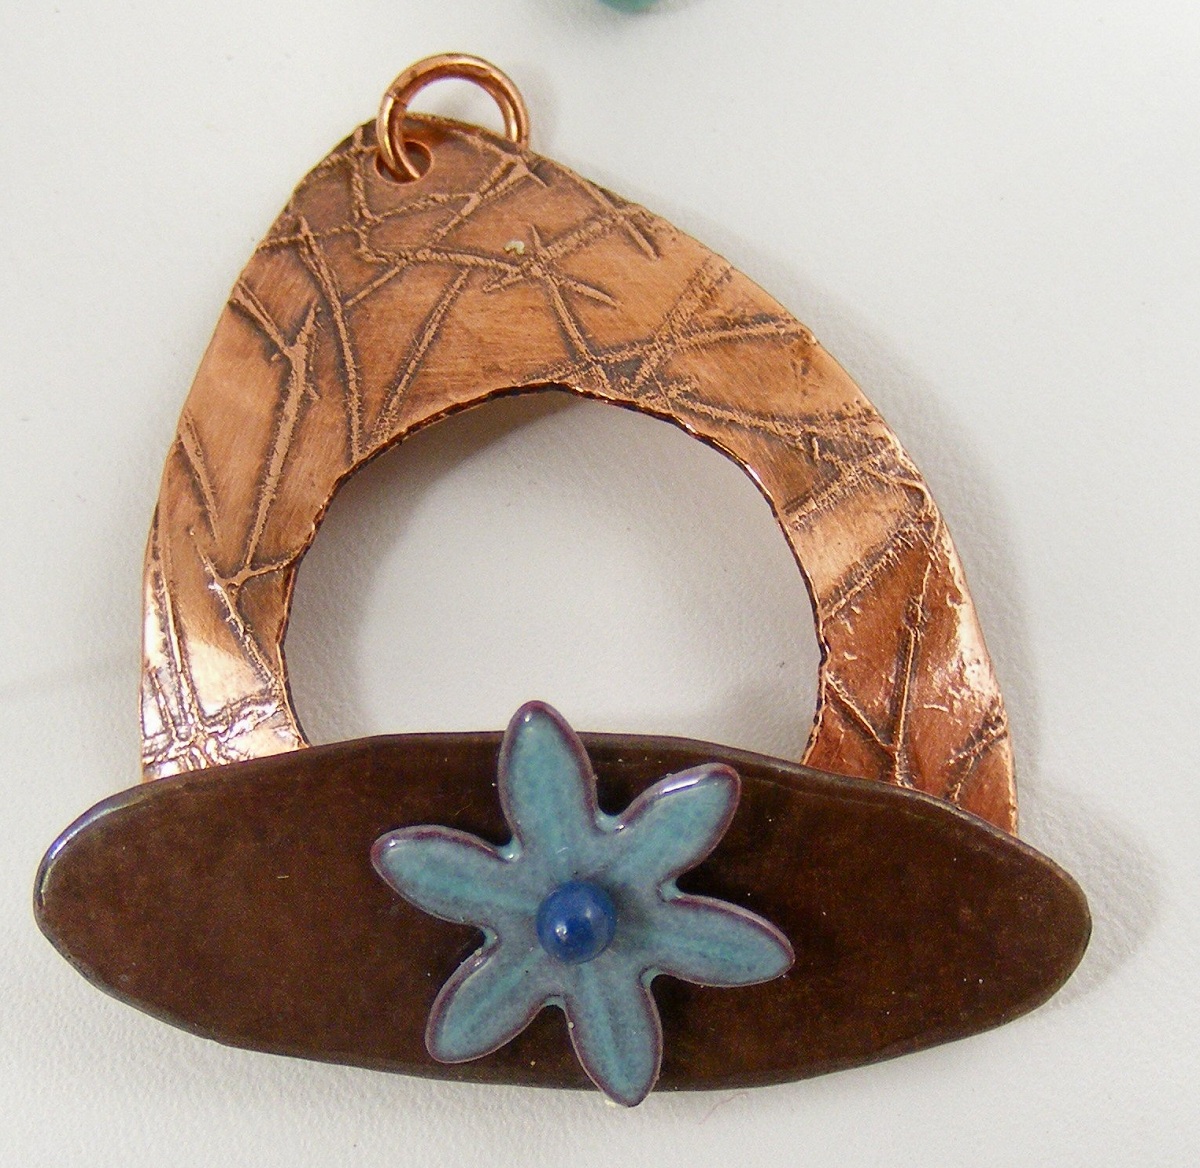
etched toggle, before Liver of Sulfur
6) Use Liver of Sulfur to oxidize the ring, to give a little contrast in the etched recesses. This is completely optional, but gives the piece nice depth.
7) Dome the copper toggle ring if desired.
8) Add a jumpring. Tumble the piece to harden it and bring out a gorgeous shine.


1 comment:
Great Tutorial !
Post a Comment