Tuesday, September 10, 2013

Tangle Tuesday & Etsy SEO

It has been a long time since I tangled! My last one was August 6 - a month ago (seems like longer). I have been caught up in a beadweaving frenzy, taking projects home every weekend and beading like a fool, and after I finished the latest one last week, I needed to get back to some metal working, which isn't really a portable project (although I tried! - but there're so many tools, and chemicals, and heavy hammers, and I just don't really have the set-up space at home. Waaah!)

So I found myself with 2 whole days with nothing creative to do (and I certainly was NOT going to clean house - that's CRAZY talk!). I decided to dive back into Zentangling.


Some of the tangles I used here include:

  • twisty-blob
  • thumbprintz
  • paradox
  • checkerboard
  • sponge
  • go 4th N multiply
  • Hollibaugh
  • betweed
  • seasick
  • aura


Zentangling is supposed to transport you to a Zen place, and I have read blogs by other tanglers, who happily report the peace they achieve through tangling.

Me? Not so much. This one, more than any of the others I have done, was a chore.

I wanted to incorporate some color (I always want color!) - even though what initially attracted me to tangling was the graphic beauty of the simple black and white designs! My mind is such a paradox.

And I failed miserably (IMO) with my color here - I see other tangles with color, and love them, but I just can't figure out the secret. Adding just one color? Coloring the whole thing? I decided for the middle road here, and don't really care for it.

I always have a thousands thoughts at once scurrying around my brain, and couldn't shut my brain down to enjoy this tangle. I just wanted to be done - and several hours later, I started falling back on familiar, space-occupying, simple tangles like Hollibaugh and SeaSick. And voila - I quickly finished.

Not sure when I will try again.

So the tangling was on Sunday - that left Monday with nothing "fun" to do, either. So I decided to tackle something I have been putting off for a long time (no, not housework!): SEO (Search Engine Optimization) in my Etsy shop.

I think I suck at SEO, even though I have read (and read, and read) articles about SEO and Etsy. Etsy SEO is different, because you want to attract searches on engines like Google, but what works for Etsy search doesn't necessarily work outside of Etsy (for instance, the tags that are so important to search on Etsy are NOT even seen by Google). So you have to play games with your titles, your descriptions, these Etsy tags, and choose your keywords wisely - and by wisely, I mean, think like a searcher - in my case, a jewelry customer.

This is WAY harder than it sounds, at least for me - I am a very technical person, and familiar with all the terminology that jewelry designers use. It's a very comfortable little "foreigh language" - foreign in the sense that words I use to describe one of my pieces are NOT necessarily the words a customer would use to search for one of them! For instance - the most popular term used to find my Etsy shop is "kumihimo necklace", and I have several of them - but the problem is, that search term is NOT converting to sales, and I discovered that the reason is while yes, they are kumihimo necklaces, the average jewelry shopper has never heard the term "kumihimo"; hell - the majority of customers in my bead shop have never heard it, and most of the ones that have heard it, don't know how to pronounce it! So why is it the number one search term in my shop? Because other beaders are using it to find ideas for making their own kumihimo designs. Hmmm.

It's kind of like the medical field - the nurses and physicians have a whole different language to describe what's going on in the lay person's body - headache becomes "cephalgia", indigestion becomes "dyspepsia" - and so on, so it boils down to the difference between a physician writing a medical article vs. a lay person writing it - which one could you understand? And my Etsy listings are basically the same - just because I describe something as an "etched Picasso Kumihimo oval blah blah blah whatever" - doesn't make it searchable on either Etsy or Google by the average jewelry consumer. The Etsy forums tell me to look at each piece "as a shopper would look at it" - and there's the rub. I only see my process, and can no longer look at it as a "regular" person (because I am highly irregular, thank you very much.) I need a regular person to wander into my life (please!) and help me think up descriptive terms for my jewelry!!

So I spent all day yesterday re-writing my titles, descriptions, and tags - I don't think I made any real improvement. But I did change quite a few things - we'll see if it translates into sales. Fingers crossed!

And during the whole shop review, I discovered quite a few pictures I need to retake. Oh, joy. Pictures can always be improved, but I just don't know the secret - but I will spend some time trying to improve the worst offenders! Fun, fun, fun!

Friday, September 6, 2013

Black and White Tubular Herringbone Links

This necklace was featured in Step By Step Beads waaay back when I first started beading - the September-October 2007 issue. It was one of the first patterns I ever tore out of a magazine, placed in a plastic sheet protector, and filed in a binder, fully intending to tackle it one day. Unlike most of the patterns that now occupy TWO overstuffed 3-inch binders, I finally got around to this one last week! (I'm sure a lot of you can relate!)

tubular herringbone

I know what drew me to the pattern was the colors - I am almost magnetically drawn to anything black and white, especially if a dash of red is thrown in!

When I was looking for something new to start last week, I decided to page through my binders, saw this one, and was drawn to it all over again - it is tubular herringbone, it's easy, and pretty fast. It's fun thinking up new patterns for the black and white beads, too!


After months of beadweaving, I am going to start working on metal tomorrow - I have lots of new ideas I want to play with! Just gotta clean off my work bench, put tiny beads, needles, etc., away, and make room for all my hammers, the saw, the torch, and more!

Wednesday, September 4, 2013

Tila and Superduo Bracelet

Today, at the bead shop, some customers and I worked on this fun Tila and Superduo bracelet, which is featured on pg. 80 of the October Issue of Bead & Button:


Tilas and Superduos


Tilas and Superduos

 I chose blue superduos (Blue Luster) and paired them with Jet AB2X Tilas.

Here is the bracelet one of my customers (Kate) made: she used cream-colored Tilas and turquoise green Picasso superduos:

more Tilas and Superduos

Our other stitcher, Debbie, had to leave before our photo session - but hers was gorgeous, too.

This is a fun, fast, and easy project - I highly recommend it!

Thursday, August 29, 2013

Beaded Bead Necklace and Earrings

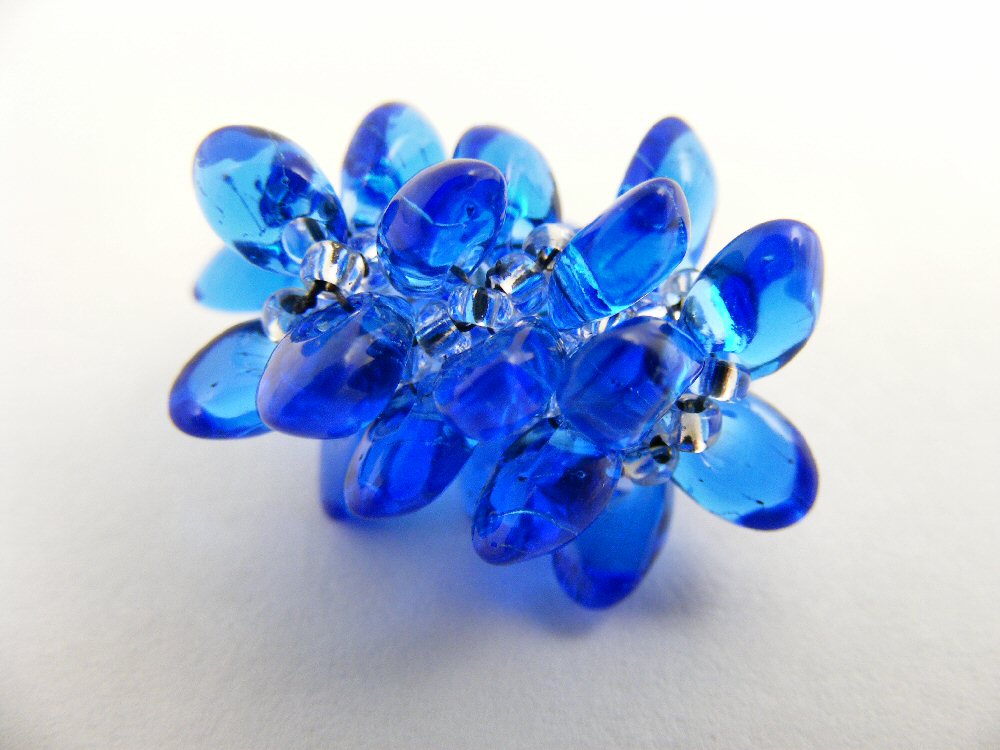
I stitched up some beaded beads (in 2 different sizes) using champagne freshwater pearls, denim blue Swarovski crystals, blue and bronze seed beads, and Picasso blue Czech glass:

blue and bronze beaded bead necklace and earrings

I like the way they look with Vintaj Natural Brass, so I used that for the chain and earwires.

This particular beaded bead is fully reversible: it looks identical on each side. I am still having a little issue with the term "beaded bead", though, as this is the second beaded bead I've worked with that doesn't have holes for stringing. For this one, I stitched seed bead loops for hanging.

blue and bronze beaded bead earrings


blue and bronze beaded bead pendant, on Vintaj Natural brass

And look: I figured out how to get one of those artsy, out of focus jewelry porn shots that are so prevalent on Etsy:

out of focus jewelry porn


The earrings and necklace are available separately in my Etsy shop.

Saturday, August 24, 2013

Beaded Beads with Long Magatamas

Long Magatamas are interesting little beads - they have a neat shape, and are often used to provide texture to patterns, but they flummox me a little. They are highly directional - if you don't pick each one up with the same orientation, your finished piece can look very "disheveled".

I used Magatamas to create a kumihimo necklace a few weeks ago, and have been looking for other ways to use them in my beadwork.

Yesterday, I started playing with some Magatamas, and found I could use netting to create beaded beads with them:


 Beaded Bead with Long Magatamas and 11/0s (netting)

It may not look like much in this picture, but after I made a few more, and strung them into this bracelet, I really like the result:

Beaded beads made with Long Magatamas (netting)


I separated each Long Magatama beaded bead with 10mm Swarovski crystals, which are each bookended with square textured and domed bead caps.


This bracelet is now available in my Etsy shop!

Wednesday, August 14, 2013

All Peyoted Out

Yesterday I finally finished the peyote bracelet that has been bedeviling me for most of the summer:

Royal Ruffles

This is from Hannah Rosner's Royal Ruffles pattern, which I purchased on impulse back in May, because I wanted something new to do.

This peyote pattern is very similar to several I have purchased from Carol Dean Sharpe, like her Corrugated Ribbon Cuffs, in that all are even count peyote patterns that rely on changing bead shapes and sizes to give texture to the design.

The distinction with the Royal Ruffles is that the 11/0 triangles are positional - they must point one way for the "peaks" and another way for the "valleys" of the ruffles - and while I understood this thoroughly and completely, accomplishing it was another matter entirely - which resulted in this on my first attempt:


I don't know if you can really tell, but my ruffles aren't lining up correctly, because I didn't have the hang of how to make the triangles behave. I kept stitching, and decided (because this was days and days worth of stitching by this point) that I would just live with it. But then my OCD kicked in, and after I reached the point in the pic above, I ripped the whole thing apart, and declared that no 11/0 triangle would get the better of me!

Detail:

As soon as I started over, I instantly saw the answer to the triangle issue, and it was (almost) smooth sailing from then on. Except for 2 things: about halfway through, one of the triangles apparently cut the Fireline (even though I was working with it doubled, to prevent this), and the whole bracelet ripped apart along the row where the Fireline tore, just about 1.5 inches from the beginning, so I had to take apart the whole piece that had torn off, and basically start over again.

And then, just when I was almost done, I spotted a wayward triangle atop a peaking ruffle, about 3 ruffles back, and I just couldn't stand it, so I ripped out 3 ruffles (during which I had restarted my Fireline twice, so that was extra fun), and started forward progress. Again.

The ruffles make this bracelet want to rotate:

You may have to click on the pic to see, but when you pull on both ends of the bracelet, the ruffles open up while the bracelet rotates - as I was stitching (and stitching, and stitching!) this bracelet, I kept draping it on my wrist while expanded, and mulling over the idea of wearing it like this (like in the pic above). It sure would have saved me a lot of stitching! (including that last do-over, because I never would have had to kept stitching to the point of that mis-directed triangle!) - But, try as I might, and I tried many, many times, it just wasn't comfortable to wear this way, so I kept stitching. Can you see that the bracelet is already 11 inches long, and I haven't added the clasp loop?


Several times over the course of making this bracelet I just had to take a break from it - after several days, the repetition just got boring. Some customers had asked me to teach them odd-count peyote so they could make a bracelet in the August 2013 issue of Bead and Button, and since I had never done odd-count peyote, I decided to teach myself by making the same bracelet - and here it is:

Another view:
This was a fun bracelet to make, but again, lots and lots of stitching. Note to self: do NOT take a break from peyote to stitch more peyote.

Back to the ruffles:

Here is the almost finished bracelet, ruffles contracted, next to the ruler:


I love this button I found to match the bracelet:


And here are my 2 summer peyote projects side by side:


Whew!


I thought I would be bead-woven out, and could get back to some metalsmithing, but I still have the fever, and have already started something new!

Tuesday, August 6, 2013

Tangle Tuesday

I have been crazy busy, but took time this weekend to tangle:

Some of the tangles I used here include:
  • wavy
  • bunzo
  • bubbles
  • pawn bridge
  • unyun