Yesterday I finally finished the peyote bracelet that has been bedeviling me for most of the summer:
Royal Ruffles
This is from
Hannah Rosner's Royal Ruffles pattern, which I purchased on impulse back in May, because I wanted something new to do.
This peyote pattern is very similar to several I have purchased from Carol Dean Sharpe, like her
Corrugated Ribbon Cuffs, in that all are even count peyote patterns that rely on changing bead shapes and sizes to give texture to the design.
The distinction with the Royal Ruffles is that the 11/0 triangles are
positional - they must point one way for the "peaks" and another way for the "valleys" of the ruffles - and while I understood this thoroughly and completely, accomplishing it was another matter entirely - which resulted in this on my first attempt:
I don't know if you can really tell, but my ruffles aren't lining up correctly, because I didn't have the hang of how to make the triangles behave. I kept stitching, and decided (because this was days and days worth of stitching by this point) that I would just live with it. But then my OCD kicked in, and after I reached the point in the pic above, I ripped the whole thing apart, and declared that no 11/0 triangle would get the better of me!
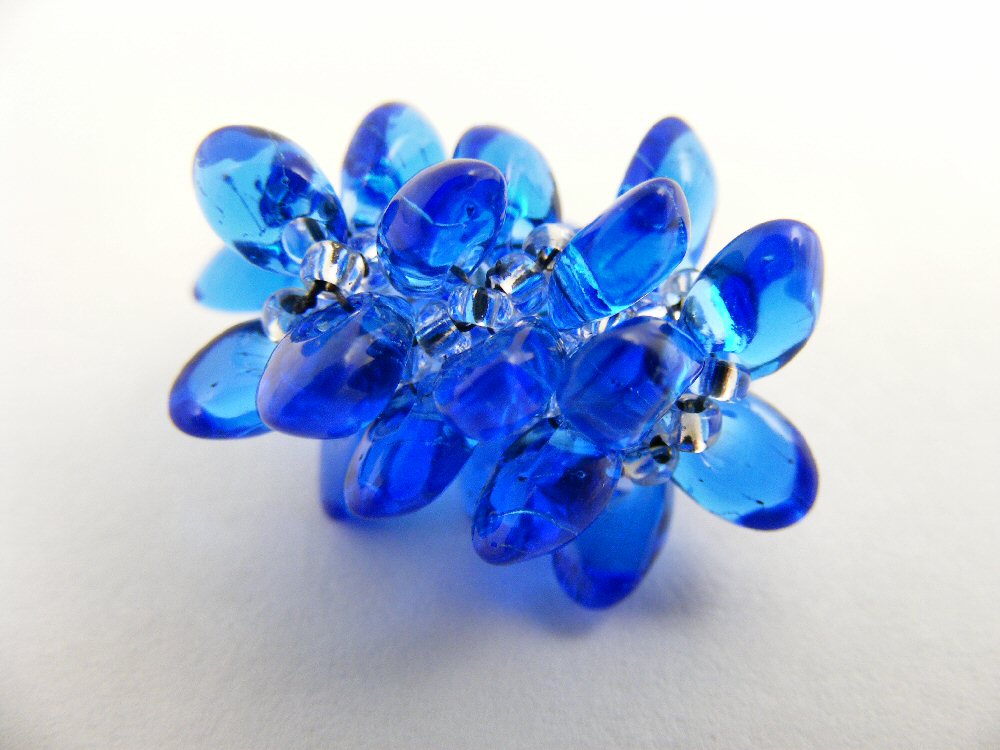
Detail:
As soon as I started over, I instantly saw the answer to the triangle issue, and it was (almost) smooth sailing from then on. Except for 2 things: about halfway through, one of the triangles apparently cut the Fireline (even though I was working with it doubled, to prevent this), and the whole bracelet ripped apart along the row where the Fireline tore, just about 1.5 inches from the
beginning, so I had to take apart the whole piece that had torn off, and basically start over again.
And then, just when I was almost done, I spotted a wayward triangle atop a peaking ruffle, about 3 ruffles back, and I just couldn't stand it, so I ripped out 3 ruffles (during which I had restarted my Fireline twice, so that was extra fun), and started forward progress. Again.
The ruffles make this bracelet want to rotate:
You may have to click on the pic to see, but when you pull on both ends of the bracelet, the ruffles open up while the bracelet rotates - as I was stitching (and stitching, and stitching!) this bracelet, I kept draping it on my wrist while expanded, and mulling over the idea of wearing it like this (like in the pic above). It sure would have saved me a lot of stitching! (including that last do-over, because I never would have had to kept stitching to the point of that mis-directed triangle!) - But, try as I might, and I tried many, many times, it just wasn't comfortable to wear this way, so I kept stitching. Can you see that the bracelet is already 11 inches long, and I haven't added the clasp loop?
Several times over the course of making this bracelet I just had to take a break from it - after several days, the repetition just got boring. Some customers had asked me to teach them odd-count peyote so they could make a bracelet in the August 2013 issue of Bead and Button, and since I had never done odd-count peyote, I decided to teach myself by making the same bracelet - and here it is:
Another view:
This was a fun bracelet to make, but again, lots and lots of stitching. Note to self: do NOT take a break from peyote to stitch more peyote.
Back to the ruffles:
Here is the almost finished bracelet, ruffles contracted, next to the ruler:
I love this button I found to match the bracelet:
And here are my 2 summer peyote projects side by side:
Whew!
I thought I would be bead-woven out, and could get back to some metalsmithing, but I still have the fever, and have already started something new!